
Free on-site gate assessment - hinges, posts, and your LiftMaster or Nice gate operator checked before anything is quoted
The assessment is free and the quote is the invoice.

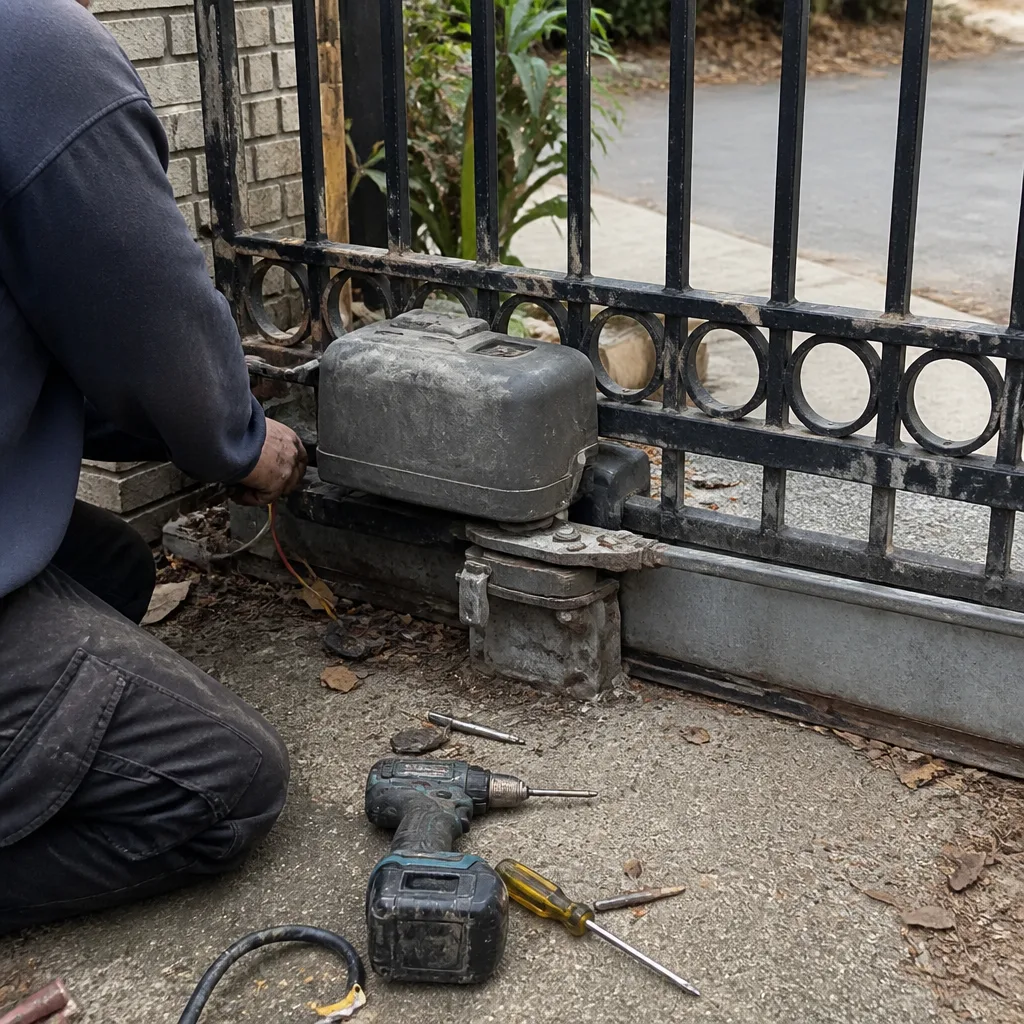 Before
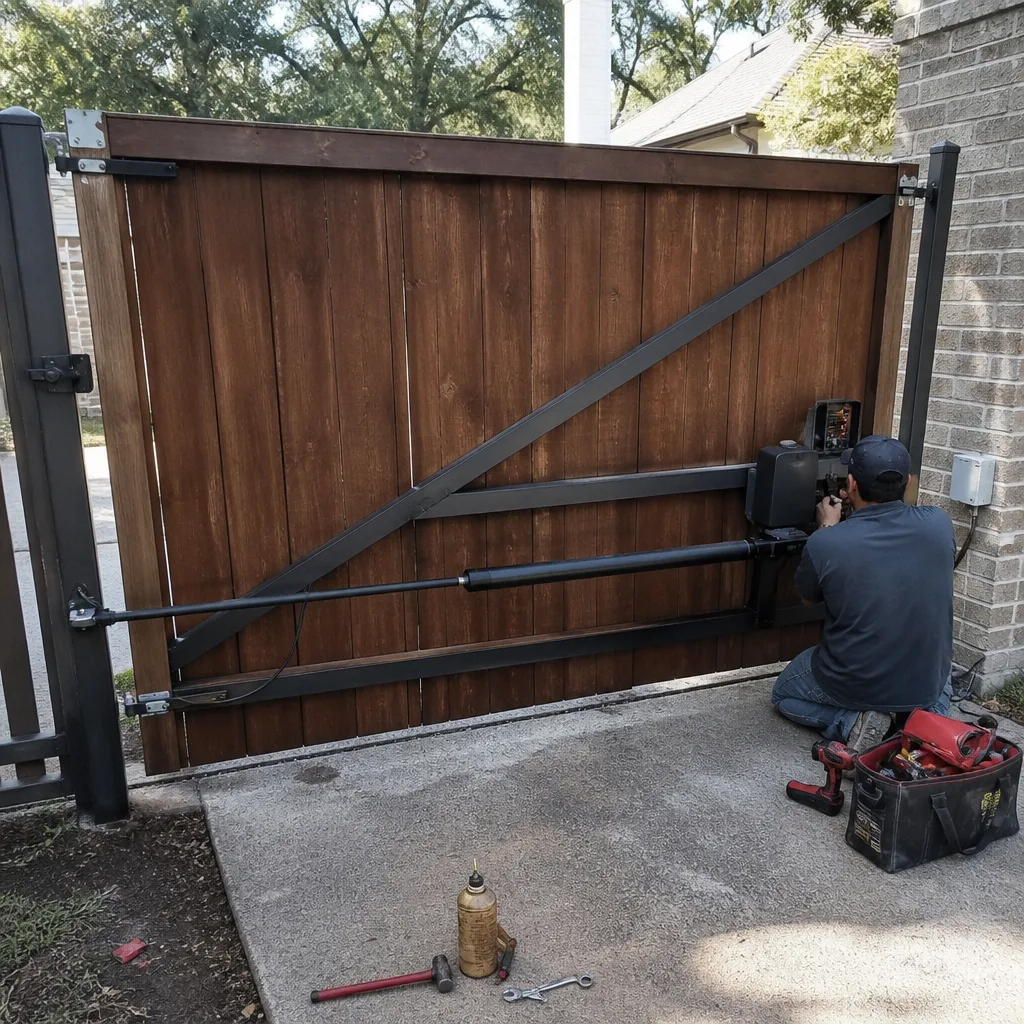 After
After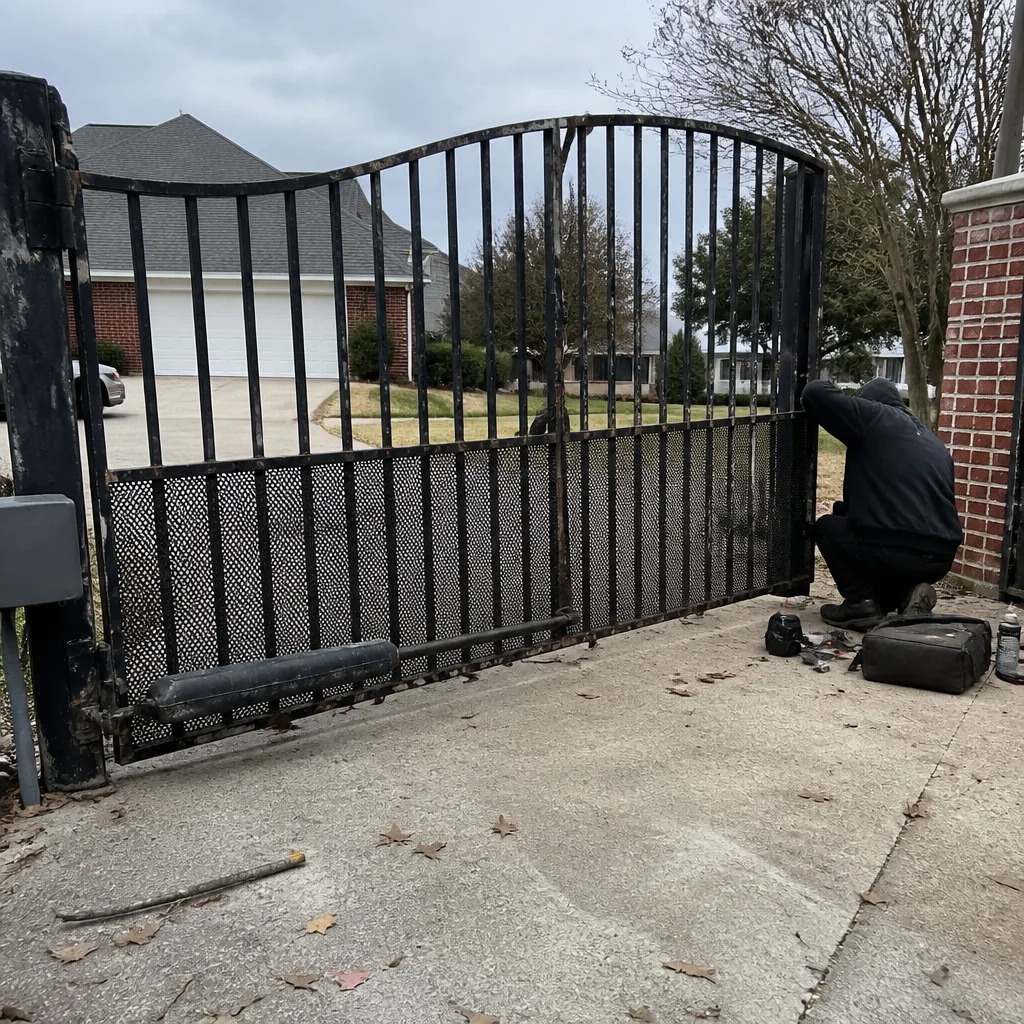 Before
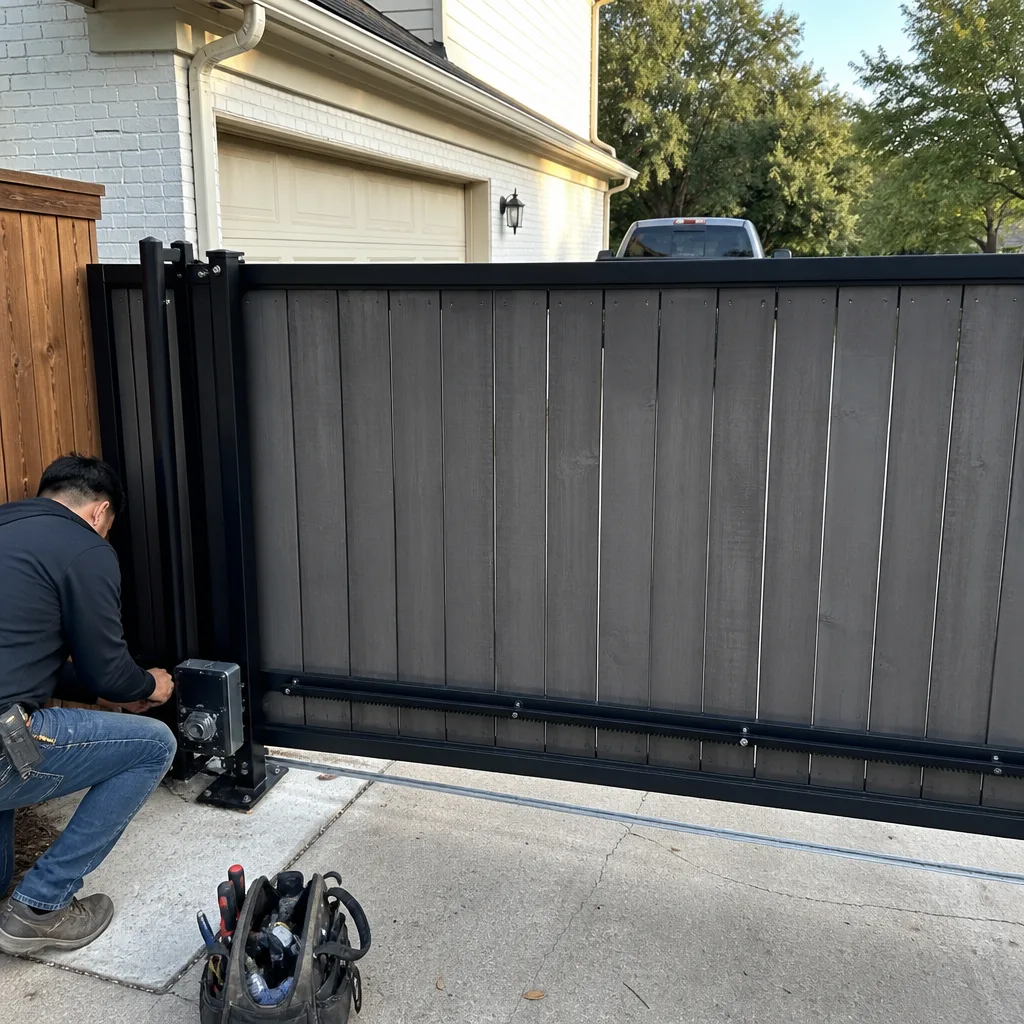 After
After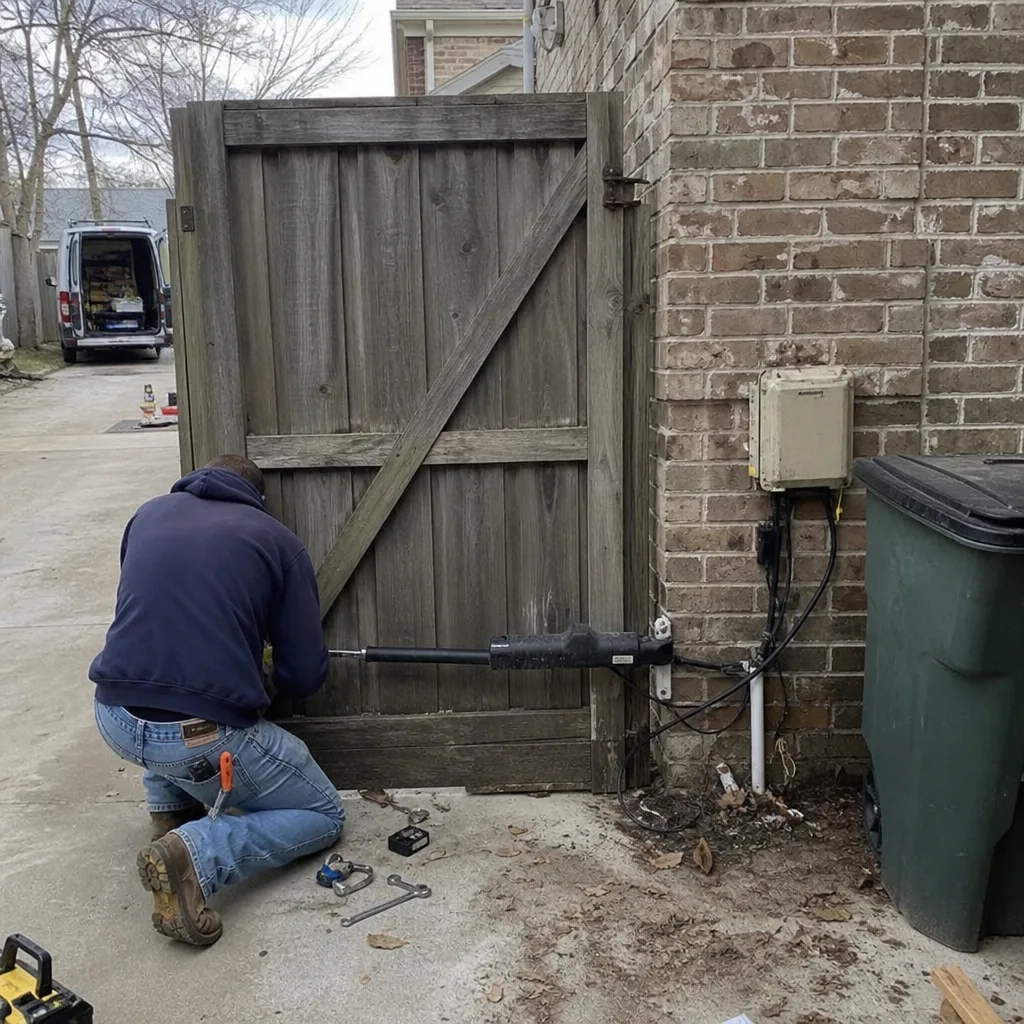 Before
 After
AfterGate Repair Before & After in Plano, TX
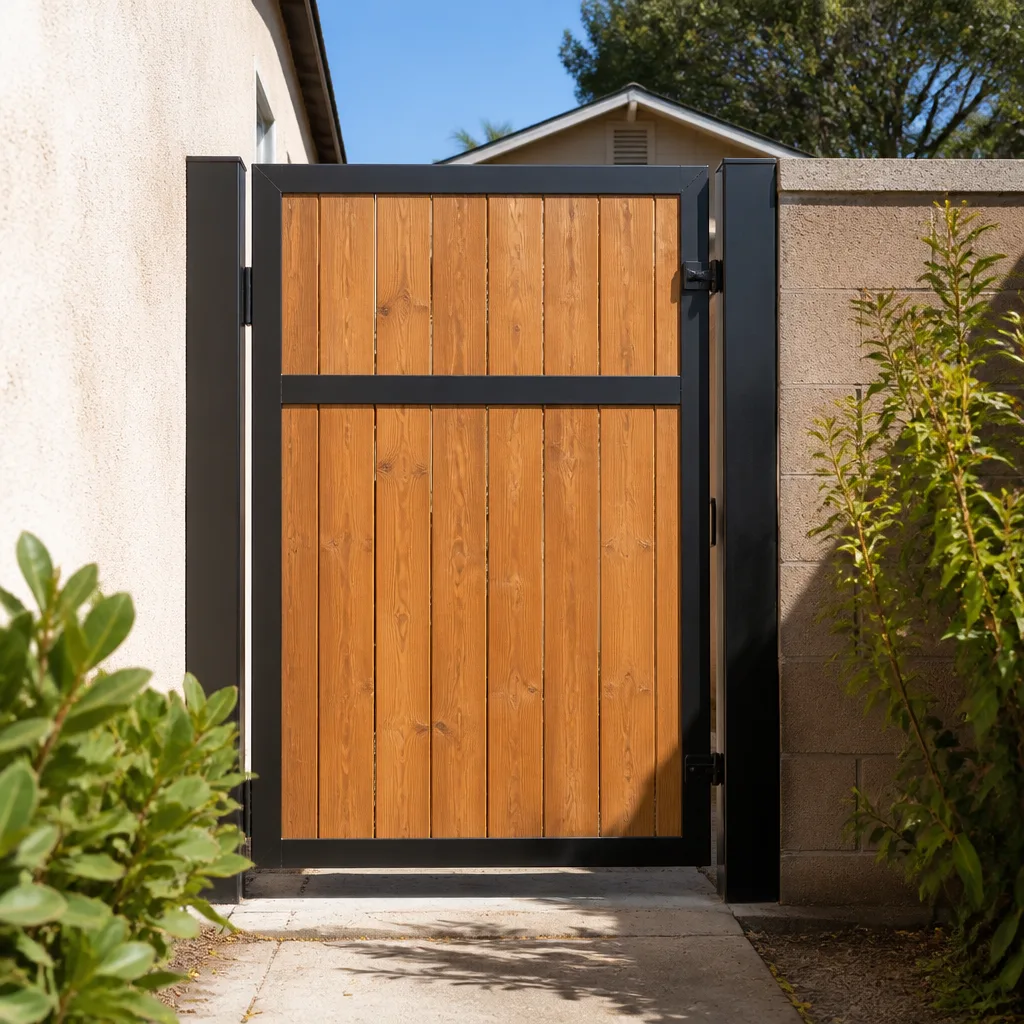
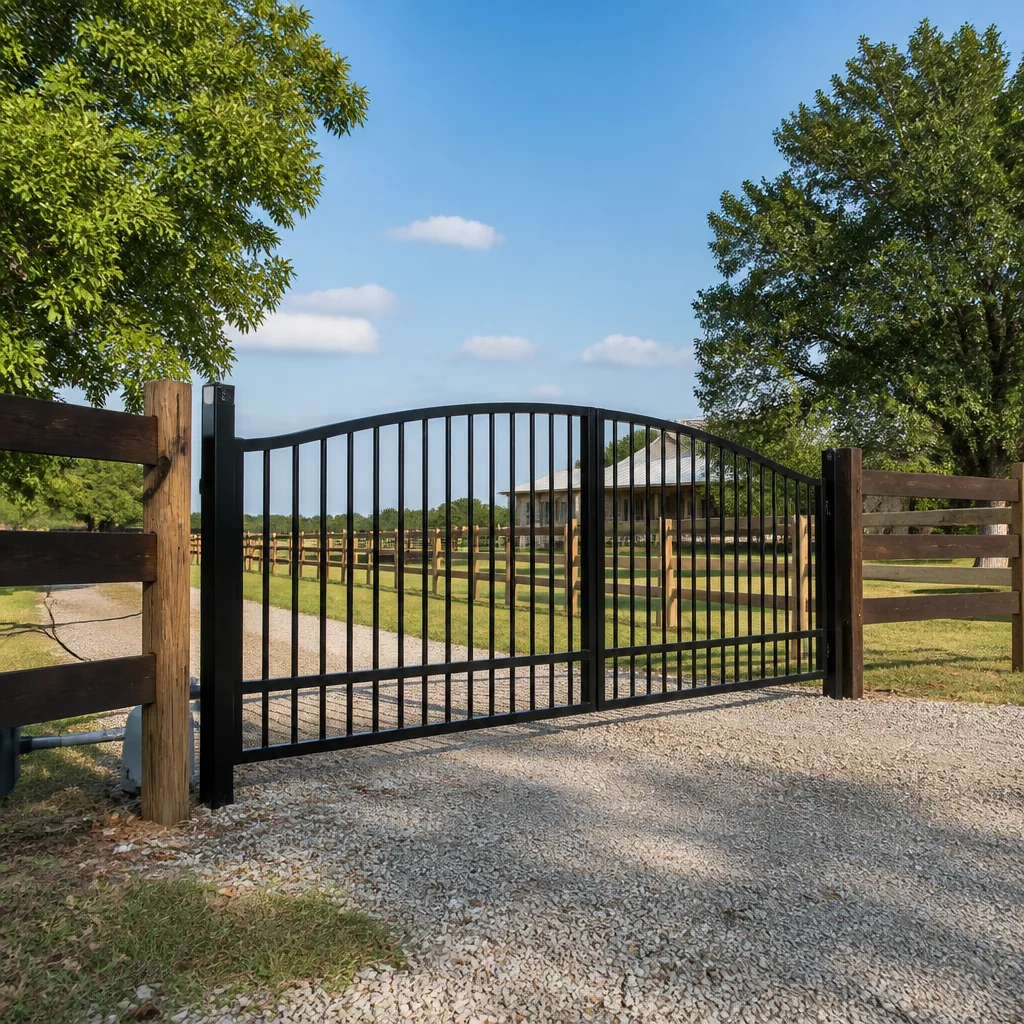
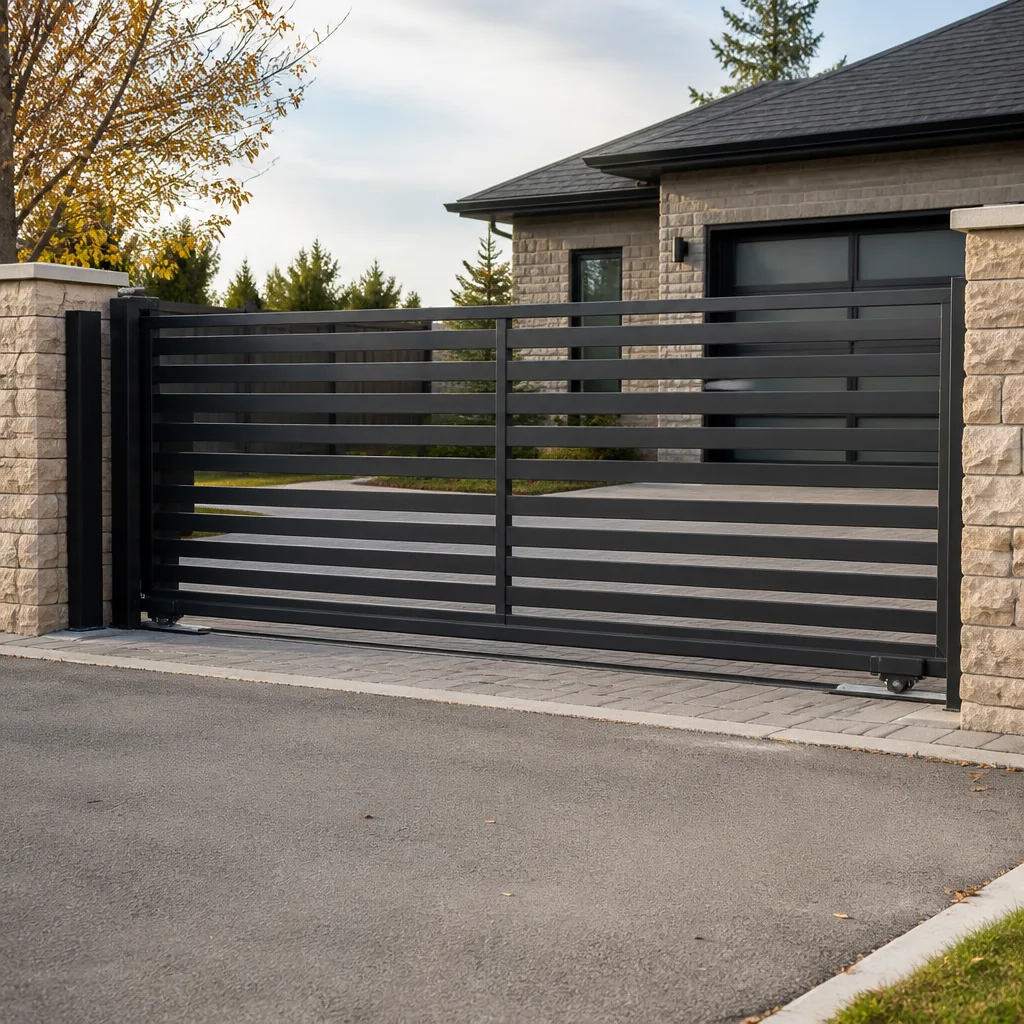
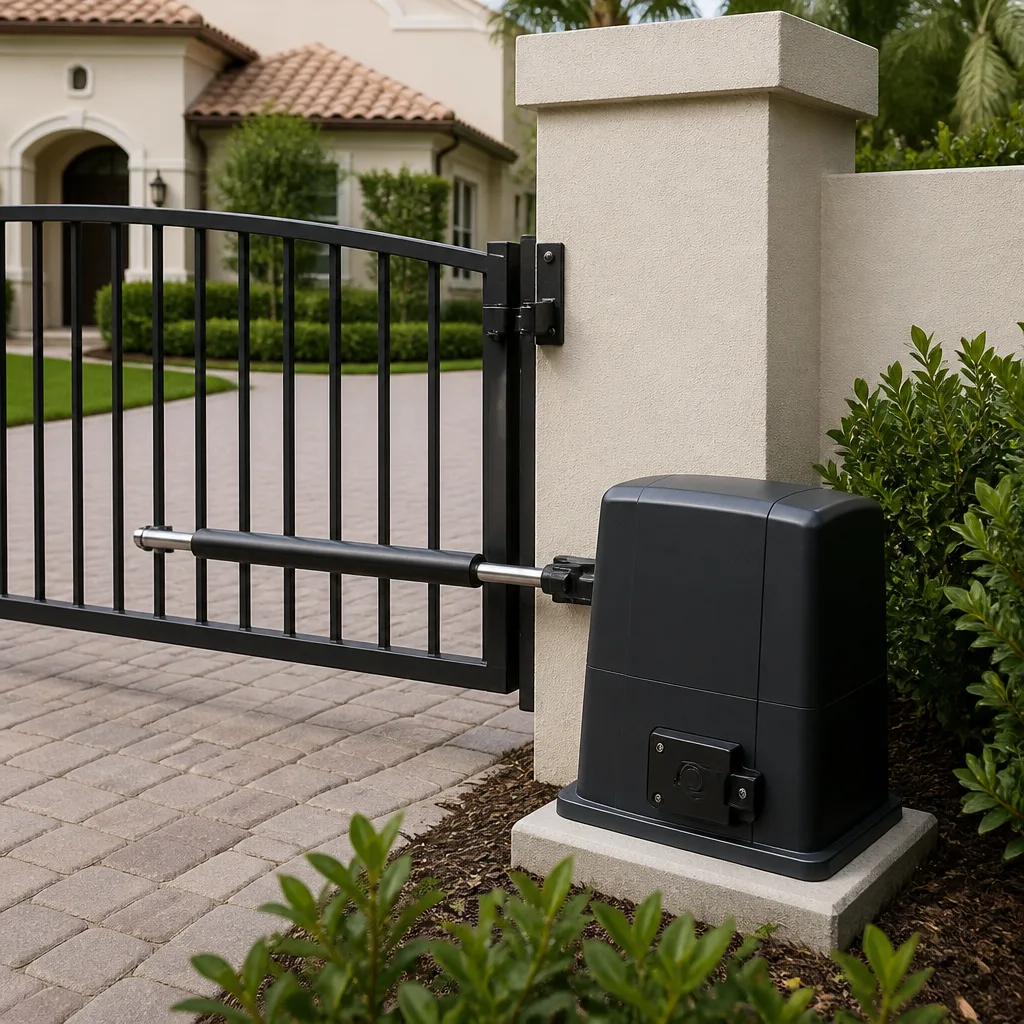
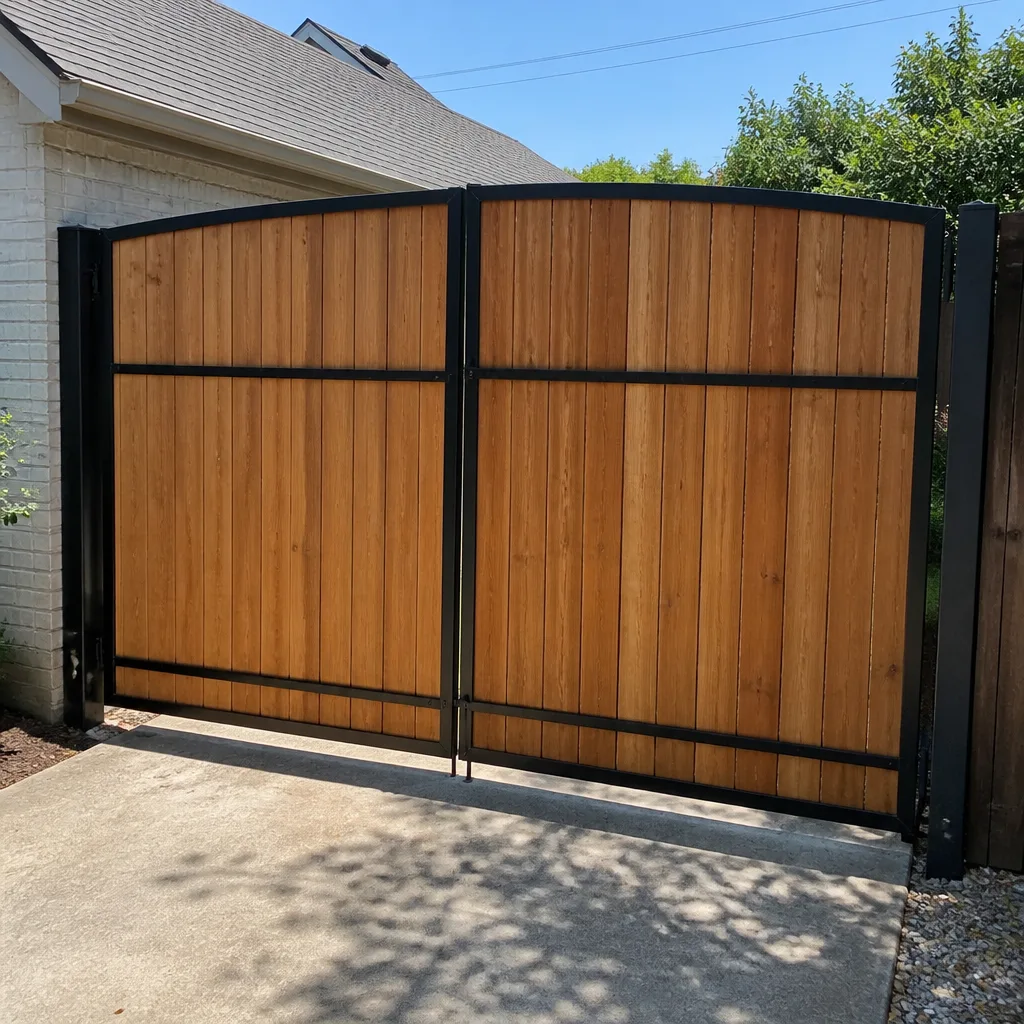
Photographs of finished work only tell half the story. What matters is what changed between the first photo and the last: a gate that dragged on its hinge, opened 11 inches instead of 14 feet, or refused to close on a school morning. On this page, we show the work in sequence, with the problem named first, the repair described, and the result photographed. Every job below left the property with a written record and a photo log under Haven Standard Clause 4.
Recent Transformations
Swing Gate Motor Replacement: FAAC to LiftMaster on a Sloped Driveway
The homeowner called because the gate opened about a third of the way, shuddered, and stopped. We found the FAAC operator’s arm bracket had rusted through at the pivot, and the operator itself was pulling 9 amps on startup, nearly triple its rated draw. The fix was a full motor replacement, but not a brand pitch: we quoted the LiftMaster because it matched the gate’s weight and duty cycle, and because the homeowner already had LiftMaster remotes on the keypad. Before any work started, the written price was in their hand, including the new bracket, the rain boot, and the re-wire from the post to the panel. The after photo shows the gate holding a full open cycle at a consistent speed, with the new operator mounted level and the old FAAC unit removed from the property.
Gate Track Straightening: Texas Heat Warp on an Iron Slider
This gate had been fighting its track for two summers. The track, a 16-foot run of galvanized channel bolted to the driveway, had bowed upward in the middle from heat expansion and a missing expansion gap. The gate was leaning toward the house and the wheels were eating into the track lip, leaving metal shavings on the concrete. We cut the track at the bow, re-bedded it with proper anchors, and reinstalled it with an expansion joint that lets the steel move without buckling. Then we reset the gate on its wheels, replaced the guide rollers, and checked the travel. The after photo shows the gate square to the fence line, rolling with one hand, and the track anchors torqued to spec. Total time on site was just under four hours, and the homeowner got a photo of every new anchor point before we left.
Photo-Eye Realignment and Limit Switch Reset on a Viking Operator
The gate would start onto its close cycle, travel about six feet, and reverse like it had hit something. We found two separate faults. First, the photo-eye was mounted on the sunny side of the track and aimed straight at the afternoon glare, which blinded the receiver. Second, the close limit switch was set 12 degrees past travel, so the gate was trying to over-close and the controller was reading the resistance as an obstruction. We remounted the eye in a shaded housing, cleaned the lens, and re-aimed the beam across the drive. Then we reset the limit switch to a true closed position, photographed the new setting, and ran the gate through 20 open-close cycles without a single false reverse. The documentation on this one mattered: the homeowner had been living with the problem for six months and wanted to see the exact degrees of travel we changed, so we wrote it on the photo log, not just in the verbal summary.
Wrought Iron Hinge Rebuild: Sagging Driveway Gate Restored to Plumb
The left leaf was dragging on the concrete and the latch no longer caught. The lower hinge pin, which carries most of the weight on a double-leaf gate, had worn down to a crescent. The fix was a hinge rebuild, not a gate replacement: we pulled the leaf, turned new bronze bushings, replaced the pin, and re-hung the leaf so it closed edge to edge with the right leaf. Then we drilled for a new striker bolt and set the drop rod so it seats cleanly in the concrete. The homeowner’s after photo shows the gate closed and latched, but the photo we care more about is the one of the worn pin sitting on the workbench next to the new one. That’s the difference between a gate that looks fine and one that will be sagging again in six months.
Gate Opener Control Board: Ghost Controls Board Swap and Keypad Reprogram
The gate would open from the manual release but not from any remote or the keypad. The original Ghost Controls board had failed, and the transformer was still supplying clean power, so replacing the entire operator would have been a waste of the homeowner’s money. We swapped the control board, transferred the programming, and re-paired the existing remotes so the homeowner didn’t need to replace anything except the failed part. Then we re-labeled the terminal strip and left the old board in a bag with the job record, same habit we keep on commercial access-control sites. The after photo shows the keypad lit and the gate cycling on a learned remote.
Slide Gate Chain Tension: Noisy DoorKing Operator Quieted and Gauged
The homeowner described the noise as “a bag of hammers.” The drive chain had stretched past the point where the tensioner could take up the slack, and it was whipping against the frame on every start, which was also wearing the sprocket teeth. We replaced the master link, moved the idler to take up the stretch, and set the tension so the chain deflects less than half an inch at the midpoint. Then we greased the chain with the spec on the DoorKing plate, not whatever was on the shelf. The after photo shows the gate moving with a clean, even growl instead of a rattle, and the chain seated square on the sprocket. Nine major gate-automation brands serviced means we can do this job on whatever motor is already on the property, no steering toward replacement.
Want Results Like These?
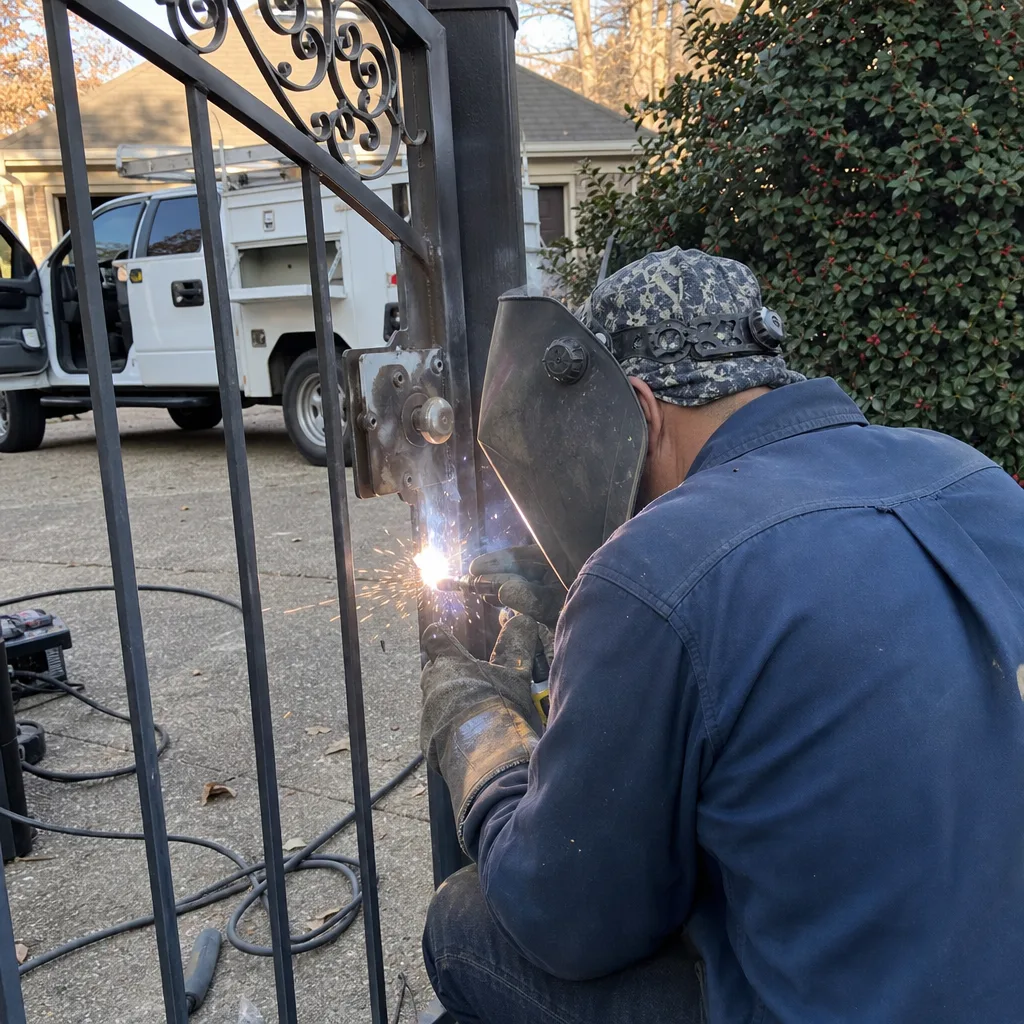
We photograph everything for a reason: you should know what we found, what we changed, and why. Every job, residential or light commercial, gets the same written price before work starts and the same photo log when we finish. If your gate is dragging, stalling, or refusing to respond, call (972) 236-7089 and describe what it’s doing. A live person answers. We’ll name the likely problem, name the parts, and hand you a written price before anything gets touched.
Written by Adrian Vance, Owner at Vance Gate Repair Plano, serving Plano and surrounding Texas communities since 2014.